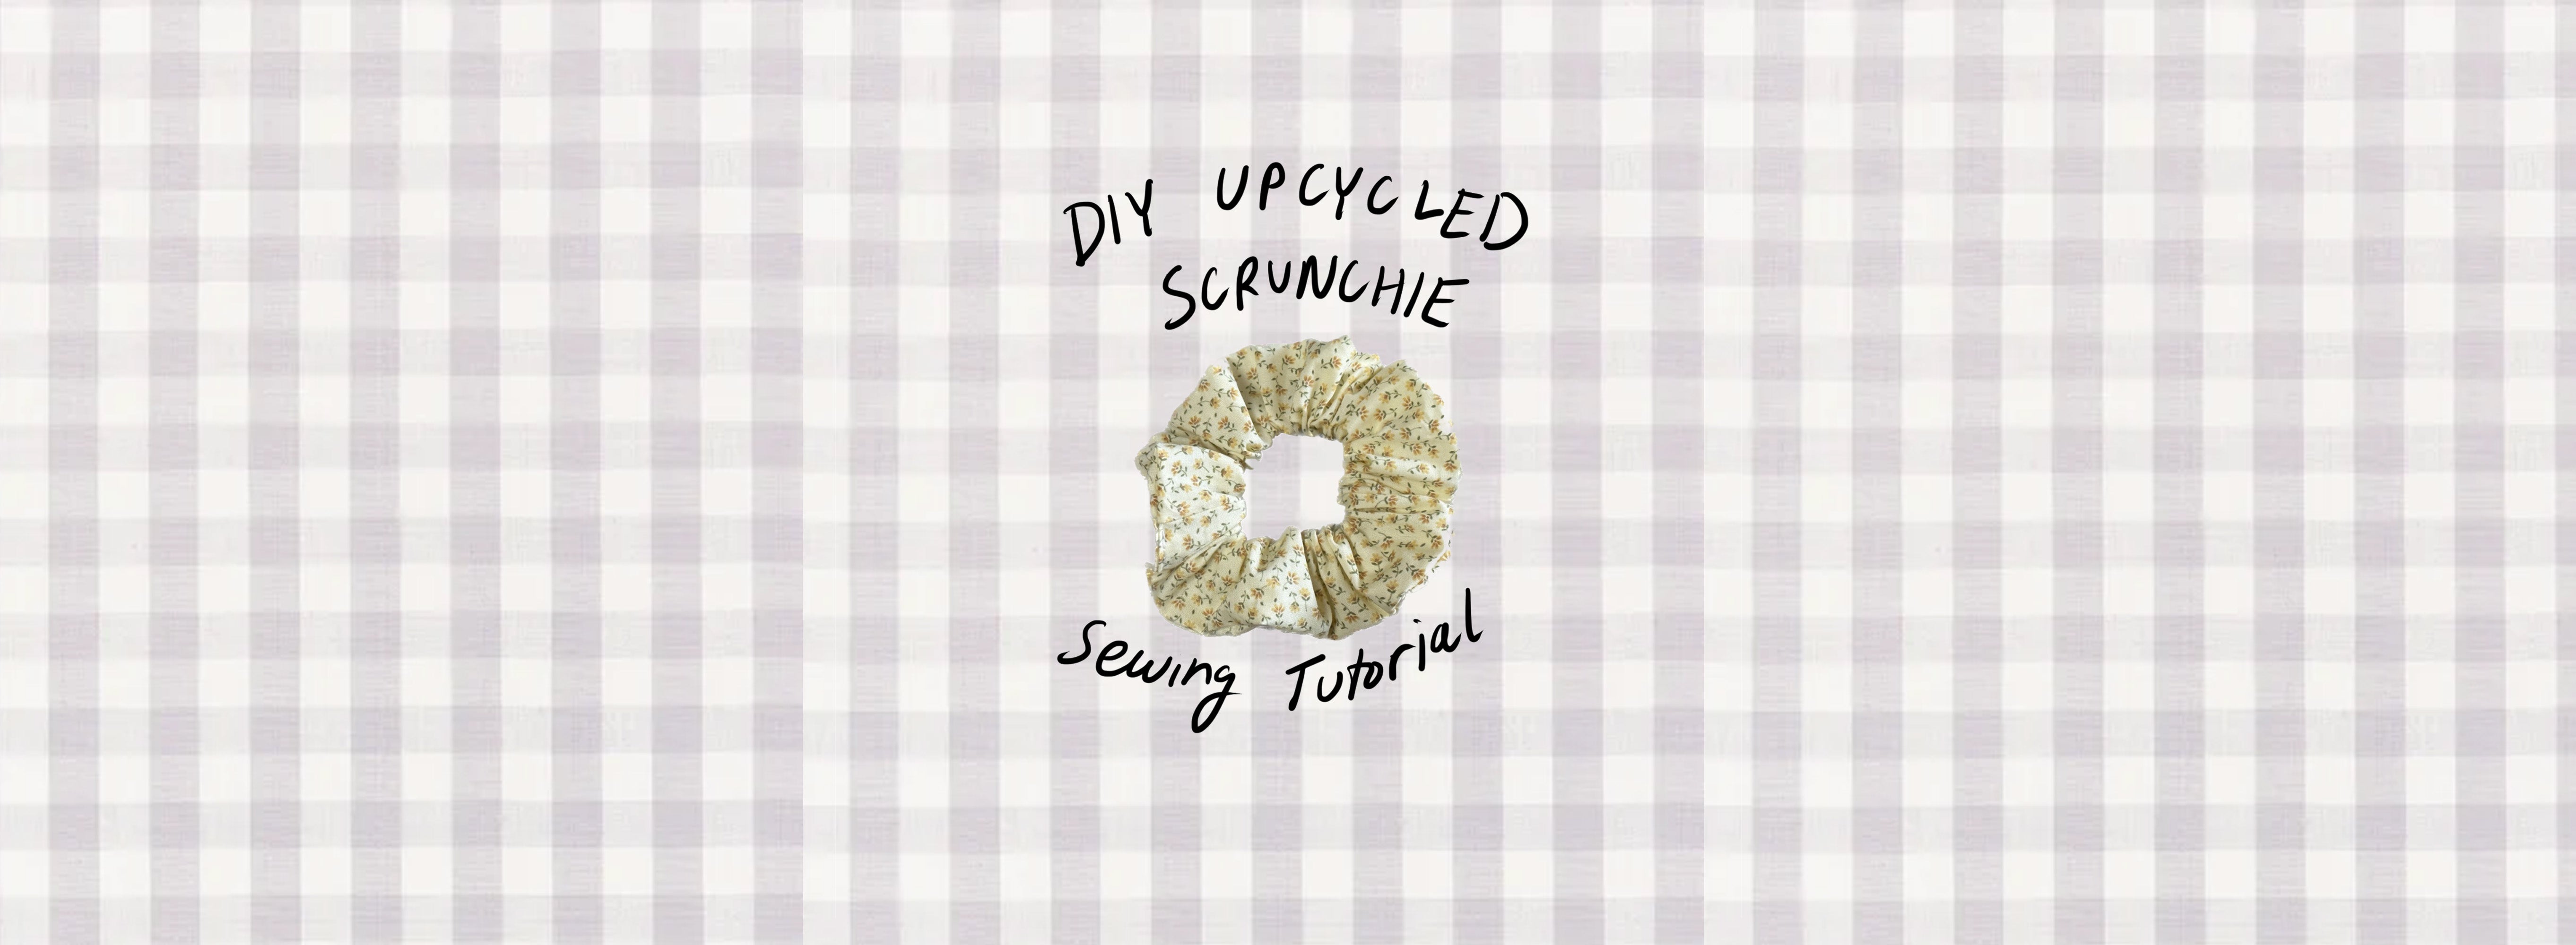
We started our business by sewing upcycled pieces including our best-selling scrunchies. Our scrunchies are also what put us on the map - coincidentally, the day I left my full-time job to focus entirely on rat boi full time, Teen Vogue published an article featuring our scrunchies. Now, after several years, we are thrilled to share our design with you and teach you how to make your very own upcycled scrunchie at home, the rat boi way ;)
TOOLS NEEDED
- Fabric Scrap (cotton or silk works best)
- Elastic (we use our proprietary super stretchy elastic, you can use any elastic 1/4" or 3/8" width)
- Safety pin
- Ruler or measuring tape
- Pins
- Scissors
- Sewing machine or needle and thread
TERMS TO KNOW
Right Side and Wrong Side: Right side: When instructions mention the "right side" of fabric, they are talking about the "printed" or "pretty" surface of the fabric. You usually sew things with right sides together so the stitching will be on the inside of the finished project. Wrong side: The other surface is the "wrong" side of the fabric.
Seam allowance: When we sew two pieces of fabric together, we do not sew right along the edge. We leave some space between the stitches and the edge to make sure the seam doesn't come apart or unravel when you wash or wear the garment. This space is called the seam allowance.
Finger Press: Sometimes you will not want to get up from your machine to press a little seam. So you put the piece on the table and using your fingernail, you press hard on the seam to ensure it is flat and open after sewing. When you press a seam open, it lays flat and looks neat and tidy. This is important because it reduces bulk in the seam and allows the fabric to lay flat when you're wearing the garment. It also helps to make the seam stronger and more durable.
Backstitching: Backstitching is simply a technique using the reverse sewing direction of your machine to ensure that the start and end of a seam do not come undone. It also strengthens the seam. In this tutorial, you should backstitch at the beginning and end of every seam you sew.
INSTRUCTIONS
- Cut a fabric scrap into a rectangle shape 4" wide and 20" long. You can adjust the size based on your preference.
- Fold the rectangle in half lengthwise so the short ends meet, with the right sides of the fabric facing each other. Pin in place.

- Using a sewing machine or needle and thread, sew along the pinned edge with a 1/4" seam allowance. Be sure to backstitch at the beginning and end of your seam.
- Finger press seam open

- These next few steps are a little tricky ;) if you find these steps confusing, please refer to the images to guide you. You should now have a circle of fabric sewn together. Center the seam you just sewed and place the seam face down on your table. Lay it flat so the seam should now be covered by the rest of the fabric in the tube.
- Fold the top layer of fabric from the tube to the center so they are out of the way. The bottom layer of fabric should now be exposed.

- Fold the bottom layer of fabric to meet the top layer of fabric so the seam you sewed lines up. Make sure the inner fabric you folded is out of the way for sewing. You will not use pins on this step.

- Begin sewing the edges of the fabric together starting at the seam using a 1/4" seam allowance. Right sides should be facing each other, and the inner layer of fabric you folded up should be out of the way so you don't catch it in the seam.

- As you sew, pull the inner layers of fabric out so you can continue to sew the outer layers of fabric together. I know, it sounds confusing but once you get it, it's actually really easy and will give you the cleanest finish on your scrunchies!

- Stop sewing about 1" from where you started leaving a 1" hole so you can turn your scrunchie right side out. Finish your seam by backstitching.
- Pull the inside tube out of the 1" hole, turning your scrunchie tube right side out. You should now have a tube with seams encased inside and a 1" hole to put your elastic through.

- Cut an 8 1/2" piece of elastic. Attach your safety pin to the elastic and use your safety pin to thread the elastic through your scrunchie.

- Once threaded, tie the ends of your elastic in a knot. Most people sew their elastic on this step but tying is the strongest way to finish your elastic so it doesn't break.
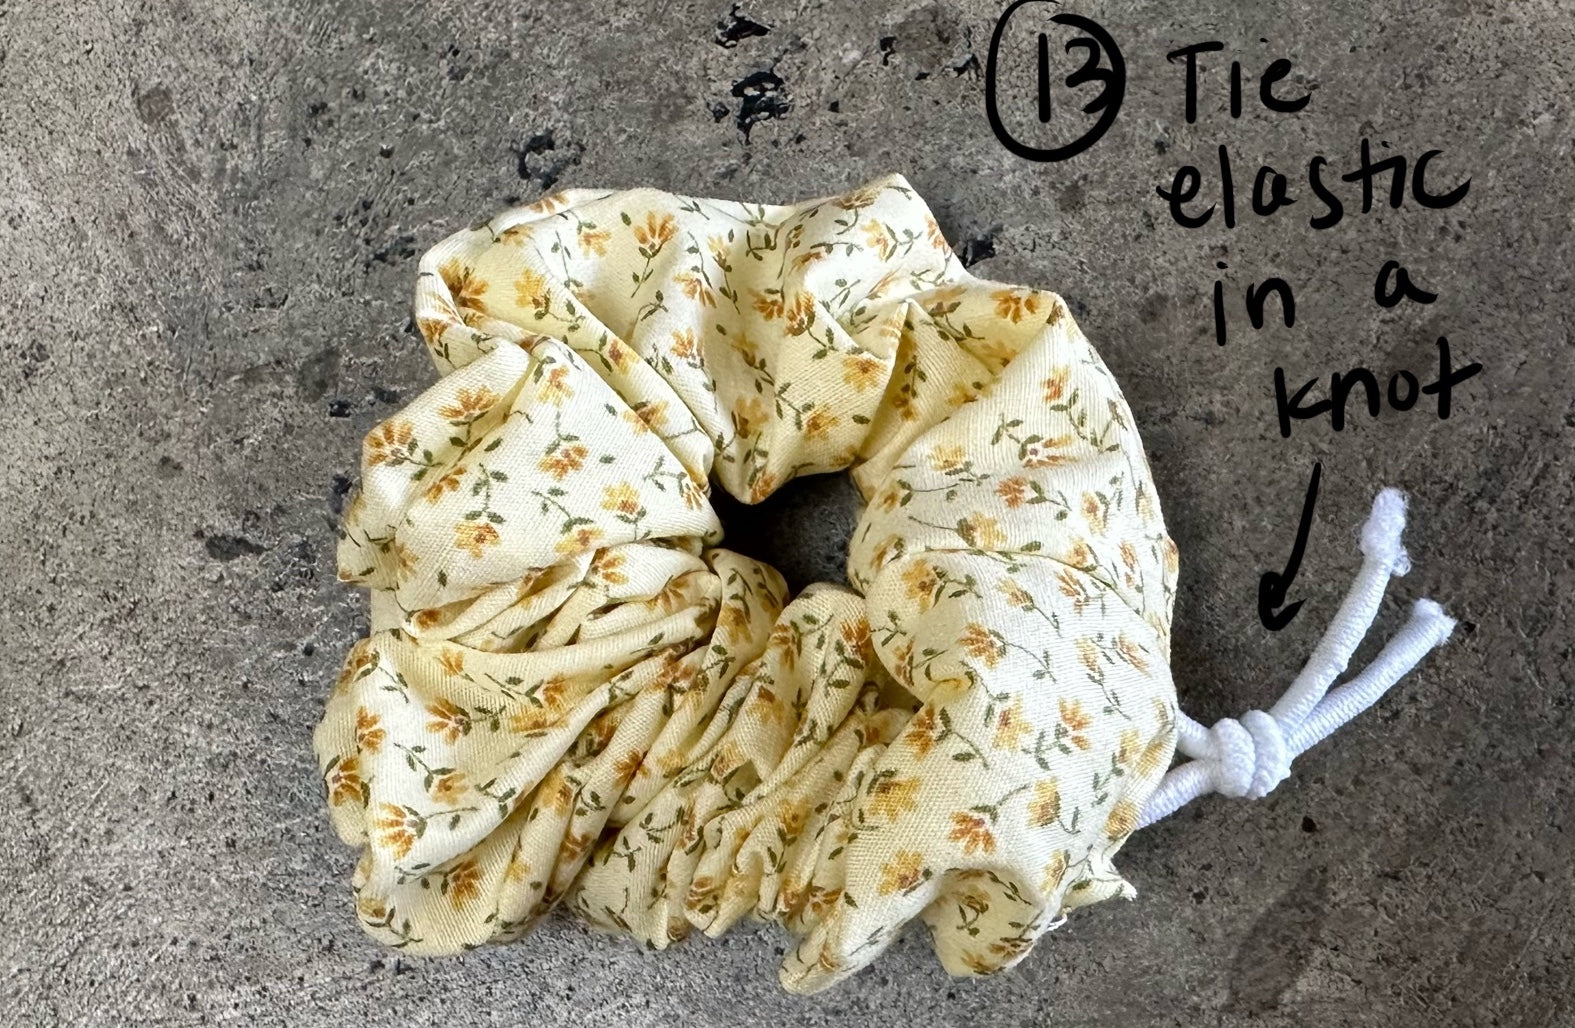
- Find the hole. Line up the edges of the fabric with wrong sides together. Sew the open hole closed as close to the edge as possible.

We hope you love the tutorial and cannot wait to see what you make! As you get comfortable, you can spice up your scrunchies with trims, bows, rhinestones, lace, etc! Be sure to tag us on instagram @ratboi in your projects - we love to see what you make :)
xoxo, alexa <3

